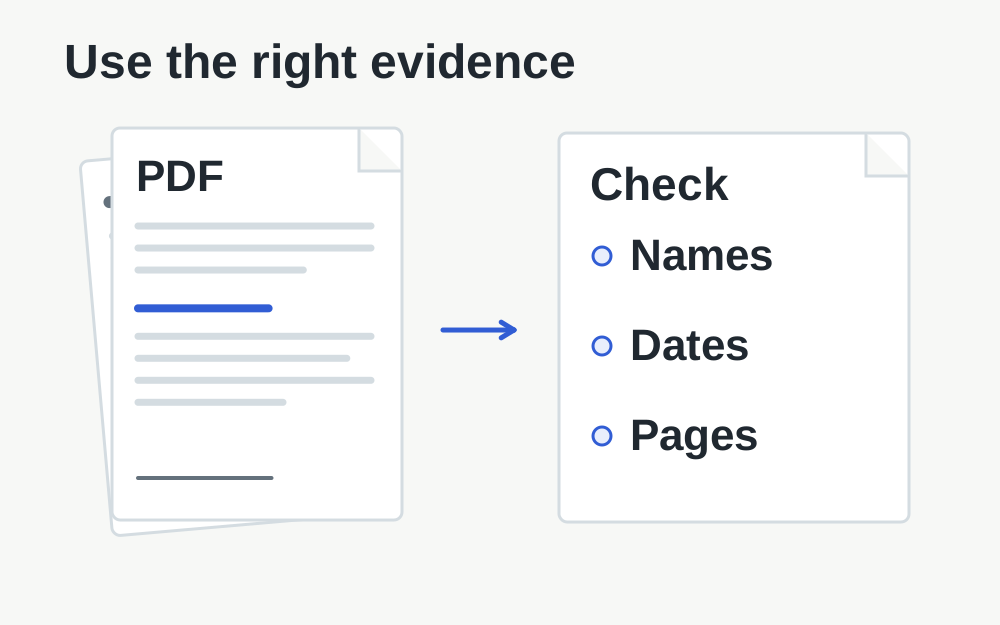
Make sure the self-upload guidance applies to your route
The linked GOV.UK article describes the self-upload service associated with using the UK Immigration: ID Check app. It distinguishes that service from evidence submitted through commercial partner websites for other appointment routes. The preparation instructions are useful, but the receiving system and its exact requirements can differ. This page is about file handling, not deciding which immigration route you should use.
If your application sends you to a partner portal, follow that portal's current document instructions and checklist. Do not assume its file count, size cap or submission stages match a GOV.UK screen shown in another guide. Keeping the destination clear at the start prevents a great deal of unnecessary converting and splitting later.
The officially listed formats
For the documented self-upload service, GOV.UK lists PNG, JPG and JPEG for photographs of documents, and PDF, PNG, JPG and JPEG for scans. It asks for the full document to remain visible and for files to have descriptive names. The article does not publish a universal maximum file size. These points were checked on 14 November 2026.
A facial photograph has its own UKVI guidance, including a separate size range. Do not borrow that range for a bank statement or certificate. Likewise, an image your phone can display is not necessarily in one of the listed evidence formats. Check the actual file rather than assuming that every camera photograph is a JPEG.
Organise the evidence before selecting files
Create a working list that follows the application checklist, with one clear entry for each requested item. Match the document name, date range and person to the relevant field. A readable statement for the wrong period is still the wrong evidence. Technical tools cannot establish whether the document satisfies the substantive request.
Keep originals separate from working copies. When a document has several pages, check that they all belong together and appear in the intended order. Avoid names such as scan1 and final2 if they make selection ambiguous. A descriptive name helps you choose the file and helps the reviewer understand what it contains, without adding unnecessary personal information to the filename.
Photograph a document so the information remains usable
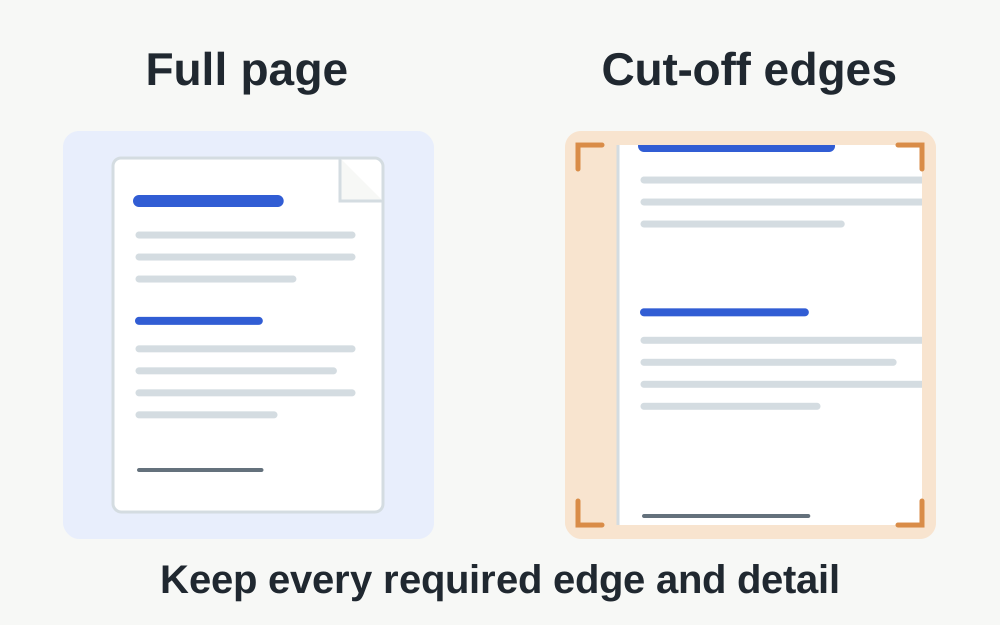
Place the document so the full page can be captured clearly. Check the result, not just the camera preview: small dates, numbers, names and stamps should be readable. Glare on a reflective page can hide information even when the image looks bright and sharp elsewhere. Retaking the photograph with better lighting is more useful than increasing contrast until faint details disappear.
Avoid including unrelated material around the page. At the same time, do not cut off an edge, official mark or continuation because it makes the picture tidier. Compare the file with the physical document before proceeding. If you are unsure whether a marking matters, preserve it and follow the application's guidance instead of making an editorial decision about the evidence.
Check a scan as a document, not just as a file
Open every page of the scan. Look for pages captured upside down, blank backs inserted unexpectedly, a feeder that skipped a sheet or a border covering text. A PDF can open successfully and still contain an incomplete scan. The page-size checker can report measurable PDF properties, but only your review can confirm that all required information is present.
If you have an original digital document, consider whether the application allows that file directly. Printing and scanning can introduce blur and increase size without adding useful information. Follow the required evidence format and authenticity instructions rather than assuming that a scanned copy is always more suitable. Keep any original digital file available for reference.
If the file is too large for the actual portal
Record the cap shown on that upload field. If it is unclear, use the portal's help route rather than guessing a number from a different visa service. Compare the measured file size with that cap. Leave a margin where the units or boundary behaviour are not explicit, but do not remove important content just to achieve a smaller result.
Our PDF compressor performs lossless repacking and may not shrink image-heavy scans enough. A fresh scan at a suitable setting can be more effective, provided all information remains clear. Splitting or removing pages should follow the receiving instructions. Do not turn a complete required statement into a partial document or break it into unexplained fragments simply because those fragments fit.
Treat format conversion as a controlled copy
If a document photograph is HEIC and the field requires JPEG, create a genuine supported conversion rather than renaming the extension. After conversion, review the entire page and its small print. Check orientation, the edges of the document and any pale marks. The original remains your reference if the converted version looks different.
Combining page images into a PDF may help when the application wants a single document, but it does not make their contents searchable or certify authenticity. Check that the selected tool supports the operation you need and that the output contains every intended page. The application instructions should determine the structure, not the convenience of a particular conversion button.
A successful transfer is not the same as a completed submission
GOV.UK's self-upload instructions say successfully added files appear under the files-added area and ask applicants to check evidence before submitting it. The guidance warns that further evidence cannot be added after that submission step. Read the current on-screen stage carefully and inspect the attached list before confirming.
Compare each attached item with your preparation list. Check for duplicate versions and evidence placed in the wrong category. If a filename alone is shown, use any available preview or download to verify the contents. Do not assume that the presence of one attachment means the whole checklist is complete or that another document selected earlier was retained.
When the error is unrelated to document content
A file can fail because a session expired, the connection stopped or a local cloud copy was not fully available. Confirm that the file opens on your device, save application progress where possible and note the exact error. If several suitable documents fail in the same way, repeated recompression is unlikely to explain or solve every failure.
Use the support arrangements for the service you are actually using and provide the field label, file format, measured size and error wording. Do not post bank statements, identity documents or application details in public troubleshooting threads. Make My Files Work can inspect supported files locally, but it cannot access the application, submit evidence or guarantee that a document will be accepted.
Questions that come up
Are all UK visa documents limited to 6MB?
No universal 6MB document cap is established by the linked evidence self-upload guidance. That figure appears in separate facial-photo instructions. Your application or partner portal may have its own limit, so check the specific field and use that value when preparing the evidence.
Can I rename a phone photograph from HEIC to JPG?
Renaming does not change the encoded image. If the portal requires JPEG, use a genuine export or conversion from a readable original, then inspect the resulting document photograph. Make sure the important information remains clear and the complete required page is present.