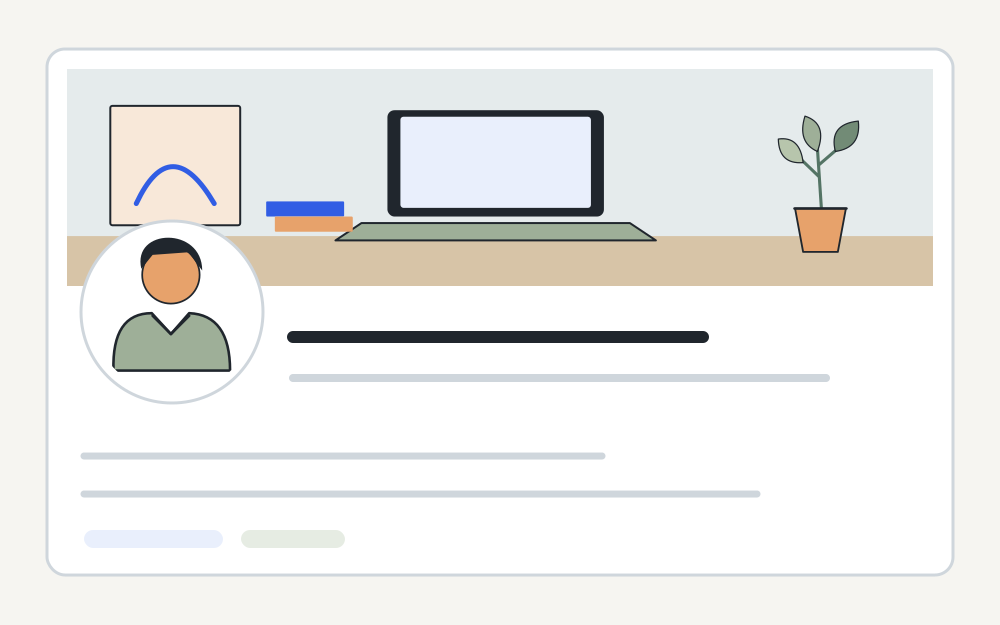
Use the cover-image specification
LinkedIn's cover-image help lists JPG or PNG, a file smaller than 8MB and recommended dimensions of 1584 × 396 pixels. The dimensions describe a wide 4:1 image. The article also says its appearance can change with browser-window size and screen resolution. These points were checked on 14 November 2026.
The 1584 × 396 figure is a recommendation in that source, not a universal hard minimum. Do not confuse it with the portrait rules in the profile-photo help article. If the uploader gives a specific error, use that message to identify whether the problem concerns size, format or the image's appearance after selection.
Choose a source that can work in a wide frame
A tall portrait or a square logo may be difficult to use as a banner without losing most of its contents. Start with a source that has useful width around the subject, or create an appropriate layout in the original design application. Squeezing a square image into a wide rectangle stretches everything inside it.
Decide what the banner needs to communicate before filling it with text. A photograph, a simple visual reference to your work or a restrained piece of branding can be easier to recognise than a dense miniature poster. If a message is essential, make sure it is also available in ordinary profile text rather than only embedded inside the image.
Allow for cropping and overlapping interface elements
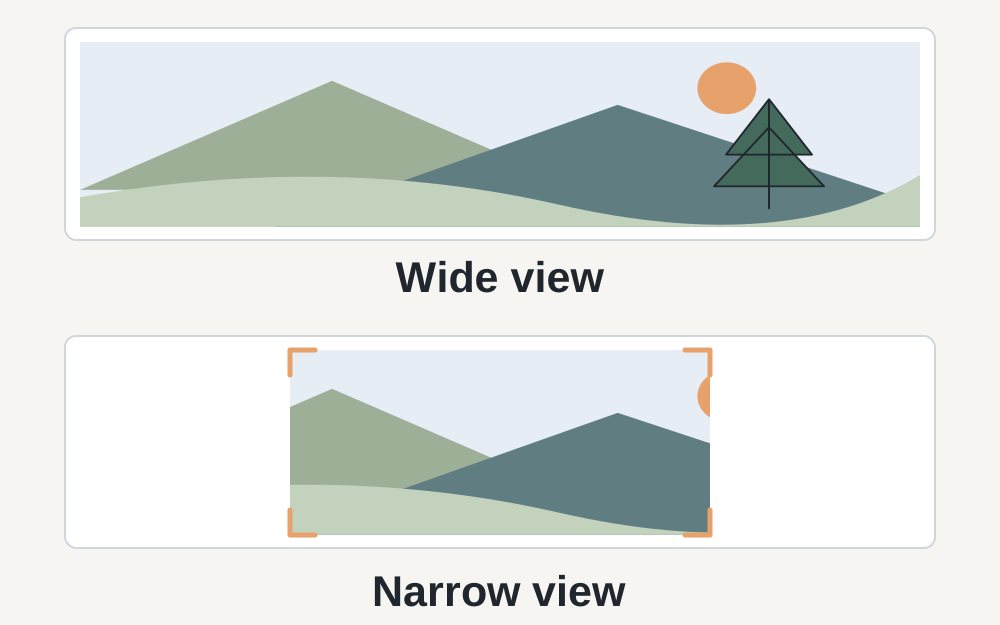
Keep essential content away from areas likely to be covered or cropped in the profile layout. Do not rely on a universal set of safe-area coordinates copied from an old template. The displayed frame can change across devices and interfaces. Test your own saved profile at narrow and wide sizes and adjust the design based on what is actually visible.
For example, lettering placed close to an outer edge may be clipped while the central photograph remains clear. Adding more compression will not fix that. Move or simplify the content in the source layout, then export again. Treat the banner as a flexible visual area rather than a fixed sheet where every pixel has to convey essential information.
Measure the intended export
Use the image dimensions checker to inspect a supported source or exported banner. Check both width and height, then compare the ratio as well as the raw numbers. An image can be very large and still have the wrong shape for the cover area. A file named LinkedIn-banner is not evidence that it uses the recommended layout.
Measure file size separately. Pixel dimensions and bytes describe different properties. A banner with flat artwork may be compact as a PNG, while a detailed photograph can be smaller as a suitable JPEG. Choose a format that preserves the information you need, and inspect the final saved file rather than assuming the source application's preview matches the export.
Keep text and fine lines readable
A cover image is usually viewed much smaller than it appears in a design editor. Zoom out before exporting and check whether the words can still be read. Very thin type, small contact details and fine outlines may collapse into blur. Increasing the file's MB count does not necessarily improve a design whose features are too small for the display.
PNG can suit flat graphics and crisp lettering, while JPEG often suits photography. That is a practical starting point, not a guarantee for every image. Compare both appropriate exports if needed and use the one that looks clear within the required size. Do not repeatedly save an already compressed JPEG, because accumulated changes can make edges less clean.
If the file is too large for the cover uploader
Check that you have exported the intended banner rather than the entire large design canvas. Remove accidentally included blank space or unrelated artboards in the source application. A sensible export at an appropriate pixel size may reduce data without harming the visible result. Keep the editable source so you can produce another version without working from a degraded copy.
Our size-target tools attempt bounded processing for supported files, but their binary KB and MB targets are general utilities. They do not implement a special LinkedIn approval rule. Leave room below the published maximum and inspect the result for text clarity. A smaller file that turns your name or business details into fuzzy edges is not an improvement.
If LinkedIn reports an unsupported file
Check the actual encoding. A WebP or HEIC source does not become a JPEG when renamed. Use a genuine conversion or export into one of the formats specified for the cover image. Reopen the result to confirm that it is readable and that its orientation and colours are as intended.
Where the artwork contains transparency, decide on a solid background before making a JPEG. The PNG-to-JPG and WebP-to-JPG tools can require an explicit background choice rather than silently discarding transparency. Check light text and fine strokes against that background. A preview on a white editing canvas can disguise transparent areas until they are displayed elsewhere.
When the upload works but an old or blurry banner remains
Confirm that you completed the save action after positioning the image. Then inspect the profile in a fresh view. Compare the source, the exported file and the saved profile to identify where the quality changes. If the exported banner is already soft, return to the source rather than blaming the upload or making the same file larger.
If the source is clear and the saved banner appears differently across screens, investigate the crop and display scale. Keep the central subject useful even when some edges are lost. Test an alternative composition before changing the whole visual identity. The profile preview provides more relevant evidence than a generic promise that one set of dimensions works perfectly everywhere.
Handle a genuine transfer failure separately
Make sure the selected file opens locally and has finished downloading from cloud storage. If several suitable images fail, save any profile work and try another current browser. Note whether the error appears at file selection, during transfer or after saving. That timing helps distinguish a file-specific issue from a session or service problem.
Make My Files Work processes selected supported images in your browser. It does not sign in to LinkedIn, place the banner, test account permissions or publish the change. After preparing a copy, upload it through LinkedIn and review the finished profile yourself. For continued failure, report the exact error and file measurements through LinkedIn's own support route.
Questions that come up
Is 1584 × 396 a mandatory minimum?
The current cover-image article describes those dimensions as recommended. They provide a useful wide starting shape, but the uploader's actual messages and the saved appearance still matter. Do not treat a recommendation as a promise that a particular banner will look identical on every screen.
Why is my LinkedIn banner cropped on a phone?
The displayed cover area changes with the available screen and profile layout. A banner can match the recommended dimensions and still lose edge content. Check the actual profile on a narrow screen and move important elements within the source design rather than trying to solve a crop with stronger compression.